
This lab provides a reproducible Windows and Active Directory environment for practising multi-step red team scenarios. It is intentionally vulnerable, uses fictional data and keeps the attack path non-destructive so the environment can be reset and repeated.
Lab environment
Participants will interact with a simulated corporate intranet that includes both a production and a less-secure development version. This setup mirrors common real-world scenarios where development environments are often less protected or contain outdated configurations that reveal critical vulnerabilities.
- Single-Host Focus: All attacks are designed to be carried out from a single host, emphasizing the potential for extensive damage even from a limited foothold.
- Non-Destructive Tactics: The lab emphasizes using non-destructive methods to achieve impactful results, highlighting the importance of stealth and precision in professional penetration testing.
- Real-World Relevance: The scenarios are crafted to reflect common security challenges in real corporate environments, focusing on the exploitation of existing privileges and access rather than seeking new vulnerabilities.
Scenario brief
Umbrella Corporation have taken over the database infrastructure of a recently acquired pharmaceutical company. The data stored is considered to be highly sensitive, namely the “5G_enzyme_experimental” database. Umbrella have engaged an independent security team to test the resiliency of the MSSQL infrastructure against a threat actor who has internal network access.
Demonstrated Skills
- Error Message Analysis: Analyze and leverage information from error messages to guide further exploration and exploitation.
- Security Configuration Flaws: Identify and exploit common security flaws found in development environments that can lead to broader network compromise.
- Sensitive Data Exposure: Assess the risks associated with the exposure of sensitive configuration data.
- Effective Use of Legitimate Access: Understand how to use valid credentials to explore and extract data from networked systems, demonstrating the potential for significant impacts even without privilege escalation.
Instruction Index
- Deploying Virtual Machines
- Setting Up the Domain Controller (DC01)
- Setting Up Client and Additional Servers
- Setting Up Group Managed Service Accounts (gMSAs)
- Create the gMSAs for DB01 and DB02
- Installing SQL Server
- Creating and configuring database perms and accounts
- Create Web App
1. Deploying Virtual Machines
- Deploy VMs:
- Create VMs for
DC01,Client01,DB01,DB02, andWEB01 - Install Windows Server 2019 on
DC01,DB01,DB02, andWEB01. - Install Windows 10 on
Client01.
- Create VMs for
2. Setting Up the Domain Controller (DC01)
- Rename and Configure DC01:
- Assign the IP address
192.168.66.1to DC01 - Rename the server to
DC01.
- Assign the IP address
- Install and Promote Active Directory Domain Services:
- Install the AD, ADFS, and DNS role.
- Promote the server to a domain controller and create a new forest named
umbrellacorp.local.
3. Setting Up Client and Additional Servers
- Rename and Configure Network Settings:
- Assign the IP addresses statically as follows, make sure the DC ip is set as the preffered DNS:
Client01:192.168.66.20DB01:192.168.66.10DB02:192.168.66.11WEB01:192.168.66.12
-Create DNS entries for Intranet Pages
- On the domain controller, create an A record for
intranet.umbrellacorp.localanddev.env.intranet.umbrellacorp.localand point them toWEB01
-Populate Active Directory with training users and groups
- On the domain controller, run this script that will create security groups and suers which the script will then add the users into
- Assign the IP addresses statically as follows, make sure the DC ip is set as the preffered DNS:
- Join the Domain:
- On each server (
Client01,DB01,DB02,WEB01), go to System Properties and change the settings to join theumbrellacorp.localdomain. - Restart each VM after joining the domain.
- On each server (
4. Setting Up Group Managed Service Accounts (gMSAs)
- Prepare the Domain for gMSA:
- On DC01, open an elevated PowerShell prompt and create the KDS root key:
Add-KdsRootKey -EffectiveTime (Get-Date).AddHours(-10)
- On DC01, open an elevated PowerShell prompt and create the KDS root key:
5. Create the gMSAs for DB01 and DB02
- Prepare the Key Distribution Services Root Key:
- Run on DC01 (Domain Controller):
Add-KdsRootKey -EffectiveTime (Get-Date).AddHours(-10)
- Run on DC01 (Domain Controller):
- Create Group Managed Service Accounts:
- Run on DC01 (Domain Controller):
New-ADServiceAccount -Name "gmsa_db01" -DNSHostName "DB01.umbrellacorp.local" -PrincipalsAllowedToRetrieveManagedPassword "DB01$"
New-ADServiceAccount -Name "gmsa_db02" -DNSHostName "DB02.umbrellacorp.local" -PrincipalsAllowedToRetrieveManagedPassword "DB02$"
- Run on DC01 (Domain Controller):
- Install gMSAs on Servers:
- Run on DB01:
Install-WindowsFeature RSAT-AD-PowerShell Import-Module ActiveDirectory Install-ADServiceAccount gmsa_db01 - Run on DB02
Install-WindowsFeature RSAT-AD-PowerShell
Import-Module ActiveDirectory
Install-ADServiceAccount gmsa_db02
- Run on DB01:
6. Installing SQL Server
- Download and Install SQL Server:
- Download SQL Server 2019 Express and install it on both
DB01andDB02. - Configure the Database Engine features during installation.
- Download SQL Server 2019 Express and install it on both
- Allow SQL Server access from DB01 and Block direct SQL Server access from Client01
- Run on DB02
New-NetFirewallRule -DisplayName "Block SQL from Client01" -Direction Inbound -Protocol TCP -LocalPort 1433,1434 -Action Block -RemoteAddress 192.168.66.20
New-NetFirewallRule -DisplayName "Allow SQL from DB01" -Direction Inbound -Protocol TCP -LocalPort 1433,1434 -Action Allow -RemoteAddress 192.168.66.10
- Run on DB02
- Set gMSA as Service Account:
- Configure SQL Server to run under the gMSA on both
DB01andDB02. -
Follow these steps on
DB01andDB02:- Open SQL Server Configuration Manager.
- Navigate to SQL Server Services.
- Right-click on the SQL Server service (e.g., SQL Server (SQLEXPRESS)).
- Select Properties -> Log On tab.
- Select “This account”, click Browse, and enter the gMSA account:
umbrellacorp\gmsa_db01$forDB01umbrellacorp\gmsa_db02$forDB02
- Navigate to SQL Server Network Configuration.
- Under Protocols, enable TCP/IP.
- In the TCP/IP properties, go to the IP Addresses tab, scroll to the bottom, and set the port to
1433. - Restart the SQL Server service.
- Select Properties -> Security and change to
SQL Server and Windows Authentication mode.
- Configure SQL Server to run under the gMSA on both
7. Creating and configuring database perms and accounts
- Use the .sql scripts in below repo to create and populate the database, follow the commands in
sql account setup and db linkto create the users and assign permissions - if you change the password this will have to be reflected inappsettings.jsonwhen we unzip our websites. - public db setup
- secret db setup
- sql account setup and db link
8. Create Web App
- Install M.NET Core Hosting Bundle
- Download the prod version and the dev version of the intranet and unzip to
C:\inetpub - IIS Manager -> Add an Appication Pool for Intranet and Dev Intranet, slecting the corresponding unzipped folder parenting
wwwroot, set the host field to reflect the DNS entries we setup forintranet.umbrellacorp.localanddev.env.intranet.umbrellacorp.local.
Once you unzip and host these, you should be able to navigate to http://intranet.umbrellacorp.local!
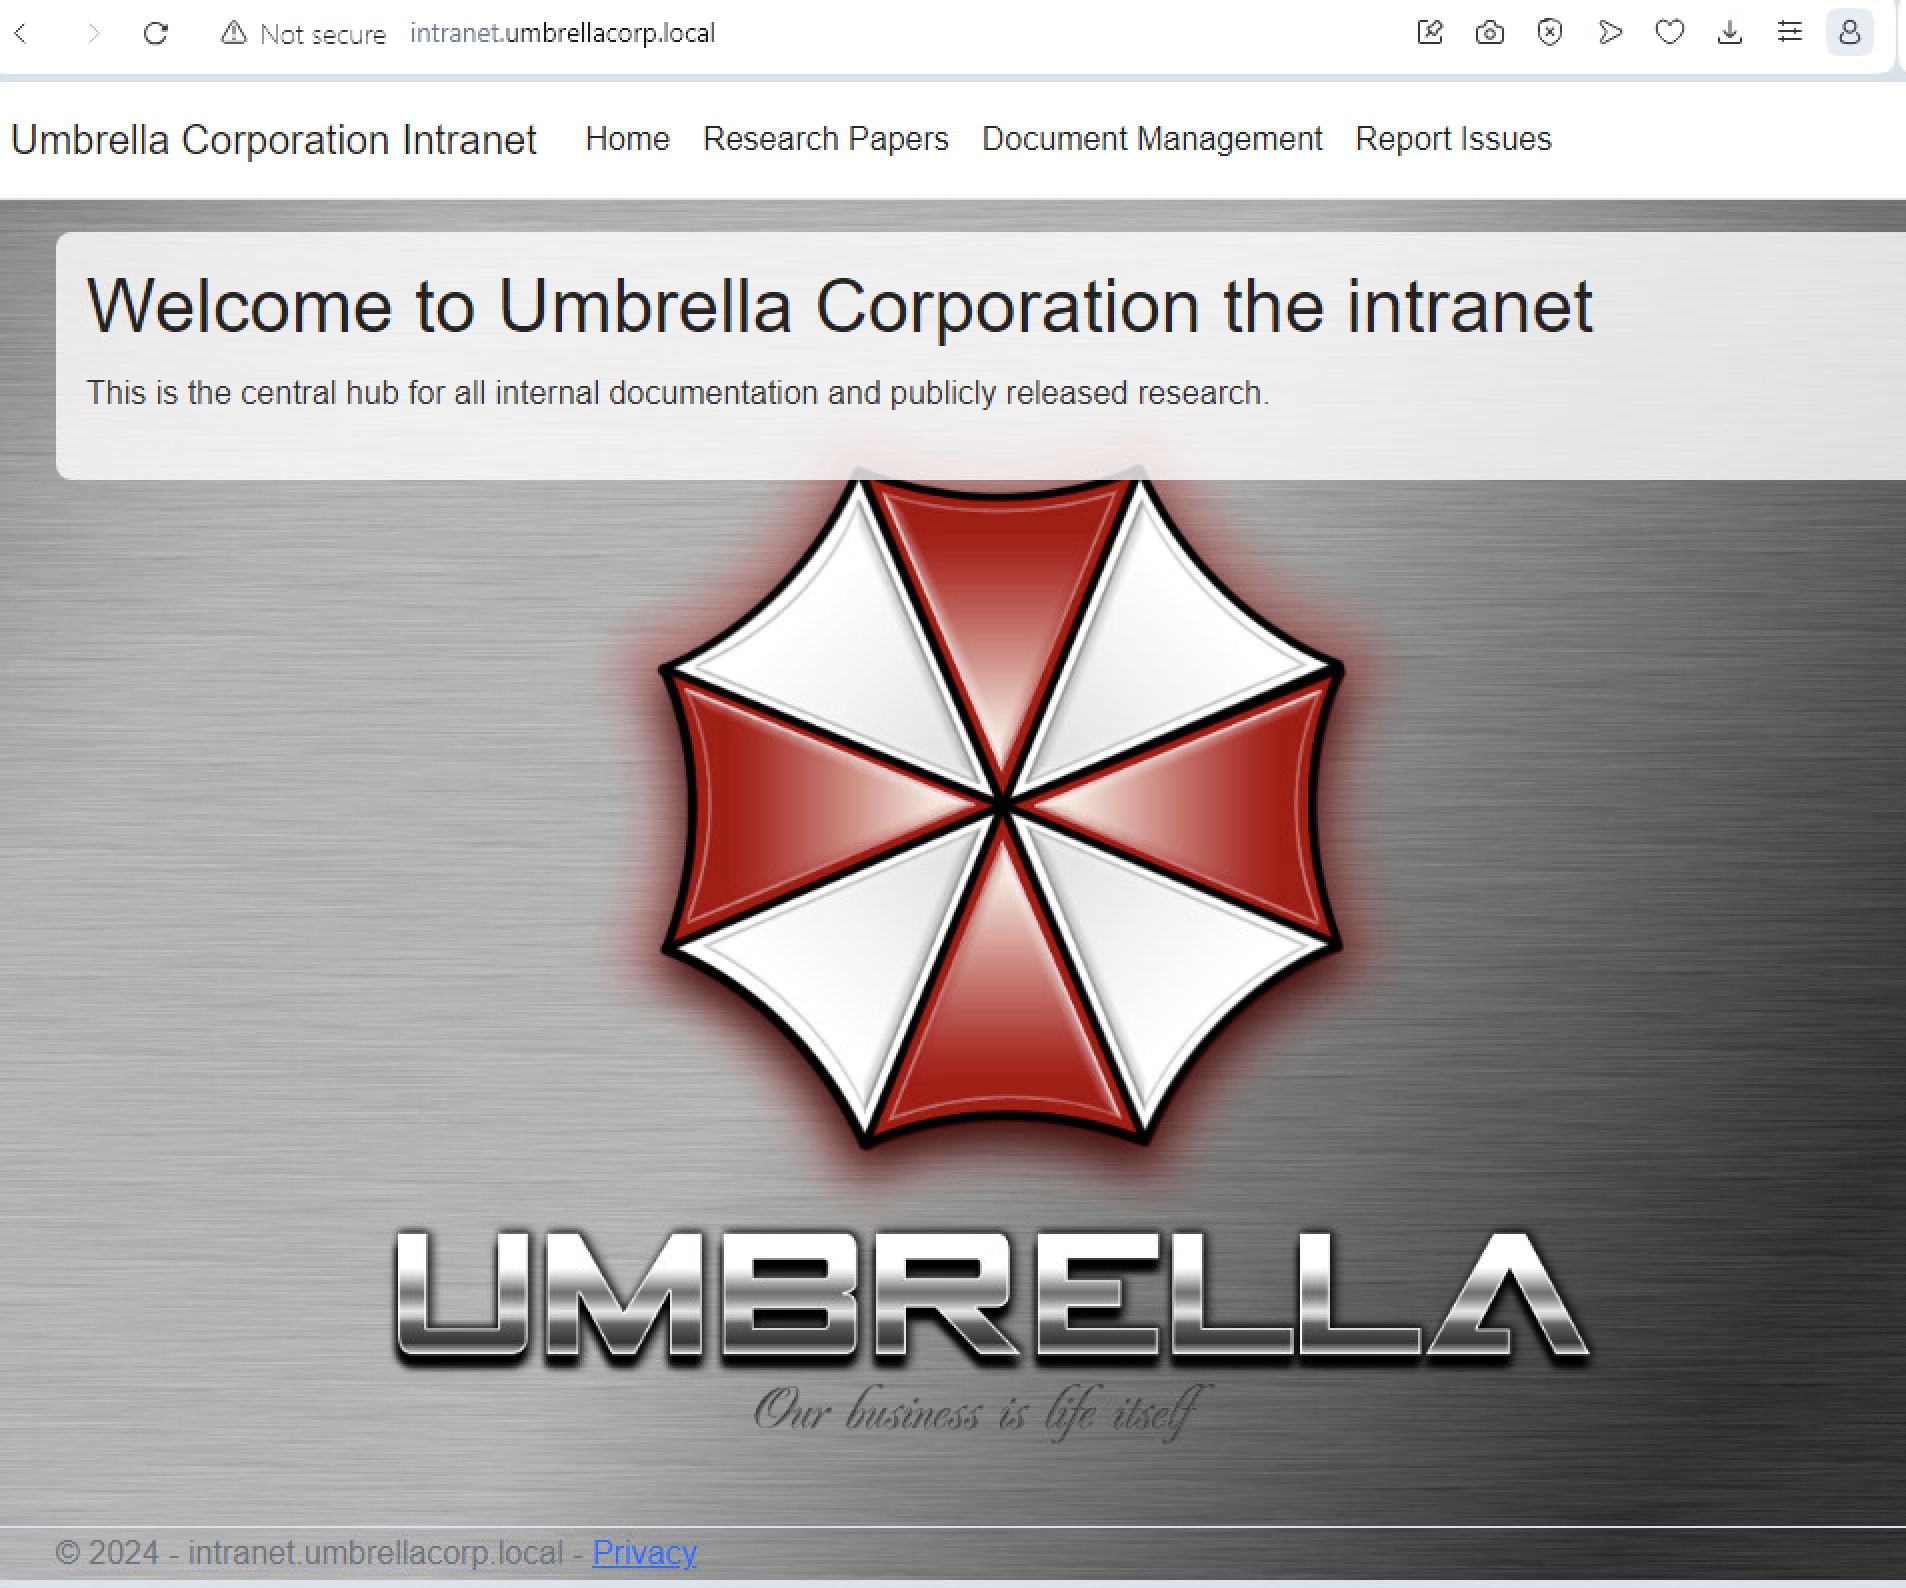
Completed lab state
Ta Da! Now you have your very own vulnerable, repeatable, expandable lab!
Security Patch Recommendations
If you want to go a step further and patch this lab, here are some initial suggestions:
-
Restrict gMSA Usage: Make
WEB01a principal allowed to retrieve the gMSA password forgmsa_db01andgmsa_db02. -
Install Service Accounts: Install the gMSA on
WEB01. -
Revise Application Connectivity: Use integrated security instead of storing credentials in
appsettings.json. This approach leverages the security features of Windows Authentication, reducing the risk associated with exposed credentials. -
Restrict
public_db_readerAccess: Reassess thepublic_db_readeraccount’s access across multiple databases, especially sensitive ones. Restrict this account to have access only to it’s namesake. -
Reevaluate Linked Servers Configuration: Assess the necessity and security implications of having linked servers between databases with different sensitivity levels. There should be no good reason for a server hosting a db considered secret to be linked with a server hosting public information.
-
Close Web Vulnerabilities on Intranet: Consider restricting access to the dev intranet, and remove the local file inclusion issue.
How the gMSA flow works
With these changes, the gMSA authentication flow on WEB01 is:
WEB01$requests a Ticket Granting Ticket (TGT) from the KDC.- KDC provides the TGT to
WEB01$. - SSMS running on
WEB01$makes a request to retrieve the gMSA password. WEB01$uses the TGT to retrieve the gMSA password from the KDC.WEB01$sends an authentication request to the SQL Server onDB01using the gMSA credentials.- SQL Server on
DB01responds to the authentication request, completing the connection process.
Attack path
Initial reconnaissance
Navigate to the main intranet site. An error reveals a local filesystem path and information about the server configuration.
Development environment discovery
The report-issues page exposes a development subdomain. Its weaker controls provide the next step in the scenario.
Configuration exposure
A local file inclusion issue in the development intranet exposes C:\inetpub\DevIntranet\appsettings.json, including a lab database connection string.
Database access
Use the lab-only credentials with sqlcmd, enumerate the public database and follow the linked-server relationship to the simulated sensitive database. No SQL injection or privilege escalation is required: the scenario demonstrates the impact of excessive legitimate access.
sqlcmd -S db01 -U public_db_reader -P 'threewordphrase1!' -W

SELECT name FROM sys.databases;
GO

SELECT * FROM public_research.information_schema.tables;
GO

SELECT * FROM sys.servers WHERE is_linked = 1;
GO

SELECT name FROM db02.master.sys.databases;
GO